Training Klein 9B/4B LoRAs with Musubi-Tuner on AMD Strix Halo
This guide walks you through setting up the tools and workflow for training a custom LoRA (Low-Rank Adaptation) using musubi-tuner on AMD Strix Halo APUs. It covers both Flux.2 Klein 4B and 9B models. For a similar guide on Z-Image training, see Training Z-Image LoRAs. For other models, small adjustments will be needed and will be addressed in future guides.
The goal of this guide is to help you set up the tools and environment for LoRA training. The actual training process requires experimentation to find settings that work best for your specific use case. These are the steps I followed to train a LoRA for Klein 9B and 4B based on my photographic style, with examples from my own training where applicable.
Hardware Requirements
This guide assumes a Strix Halo with 128GB of RAM for the default path. Refer to the Out of VRAM section if you run into problems.
Prerequisites
Make sure you have the following installed:
- uv - A fast Python package installer and manager
- git - Version control system
You can install uv and git on most Linux distributions:
# Arch Linux
sudo pacman -S uv git

# Ubuntu/Debian
sudo apt install uv git
Installation
Download the musubi wrapper script and copy it where you want. This is a small script I created to simplify the procedure. The script is easy to read, so if you are curious, have a look at what it does!
Now cd to the directory where the script is located. From there, you will need to:
# Make the script executable
chmod +x musubi.sh

# Install musubi-tuner
./musubi.sh setup
By default this will install musubi-tuner in your home directory. You can override the install directory:
export MUSUBI_TUNER_INSTALL_DIR="/musubi/installation/path"The script defaults to downloading dependencies for Strix Halo. This can also be overridden:
# You can check all available architectures here: https://rocm.nightlies.amd.com/v2-staging/
# The example below is for Strix Point
export GFX_NAME="gfx1150"
All overrides must be performed before running the setup step.
Downloading Models
We need to download the Flux 2 Klein 4B or 9B model and its VAE (Autoencoder). The Klein repo’s VAE is not compatible with musubi-tuner, so we need the VAE from the main Flux 2 dev repository.
Note that we download the base model instead of the distilled 4-step model. This is intentional. The created LoRAs will work with the distilled model as well.
Klein 4B
- Go to https://huggingface.co/black-forest-labs/FLUX.2-klein-base-4B and download
flux-2-klein-base-4b.safetensors+ all.safetensorsfiles fromtext_encoder - Go to https://huggingface.co/black-forest-labs/FLUX.2-dev and download
ae.safetensors - Place all files in appropriate directories
Klein 9B
- Go to https://huggingface.co/black-forest-labs/FLUX.2-klein-base-9B and download
flux-2-klein-base-9b.safetensors+ all.safetensorsfiles fromtext_encoder - Go to https://huggingface.co/black-forest-labs/FLUX.2-dev and download
ae.safetensors - Place all files in appropriate directories
After downloading, note the paths to your model files. You’ll need them in the next steps.
Note: If you already have a VAE and/or text encoder (either sharded or single file) that you are using with the distilled version of the model (for example in ComfyUI), you can use those files for the following steps instead of downloading them again.
Project Creation
We will now create the LoRA project. Once again, we will rely on the script to create the initial directory structure and a standard musubi-tuner configuration for Klein 4B/9B
# Set the model version (e.g., klein-base-4b or klein-base-9b)
export MODEL_VERSION="klein-base-4b"

# Set the path of the diffusion model (flux-2-klein-base-4b.safetensors or flux-2-klein-base-9b.safetensors)
export DIT_MODEL="/path/to/dit/flux-2-klein-base-4b.safetensors"

# Set the path to the first shard of the text_encoder (e.g., model-00001-of-00002.safetensors or model-00001-of-00004.safetensors)
# or to the merged model file (e.g., qwen_3_4b.safetensors or qwen_3_8b.safetensors)
export TEXT_ENCODER="/path/to/te/model-00001-of-00002.safetensors"

# Set the path to the VAE (e.g., ae.safetensors)
export VAE_MODEL="/path/to/vae/ae.safetensors"

# Set the project name. A folder with this name will be created
export PROJECT_NAME="my-lora"

# Create the project
./musubi.sh create
Dataset Preparation
A good dataset is crucial for training a useful LoRA. The following are technical guidelines and rules of thumb to get you started. However, experimentation is key - different datasets and styles may require different approaches.
Adding Images
Place your training images in the dataset directory of your project. Each image should have:
- File format: PNG, JPG, or WEBP
- Resolution: Aim for 1024x1024. Using a single resolution for all images can reduce the number of batches, which is good
- Aspect ratio: Square images work best but other ratios will work too
As a rule of thumb, anywhere from 20-200 images will work. The quality of the images is more important than the number.
Adding Captions
For each image, create a corresponding text file with the same name but .txt extension:
dataset/
├── image1.jpg
├── image1.txt          # Caption for image1.jpg
├── image2.png
├── image2.txt          # Caption for image2.png
└── ...
Caption rules of thumb:
- For styles: describing the scene but not the style works. I had good results with just empty captions.
- For characters: a trigger word + a short description seems to work well.
Editing the Dataset Config
In the project directory, you will find a dataset.toml file. While usable as-is, here is the explanation of some of its parameters:
resolution: Target resolution for trainingbatch_size: How many images to process at once (reduce if you run out of VRAM)enable_bucket: Allows different aspect ratios (keeps more detail)num_repeats: How many times to cycle through the dataset per epoch (higher = more training)
Creating Reference Prompts
Another notable file is called reference_prompts.txt. Reference prompts are used to generate sample images during training, so you can see how the LoRA is progressing.
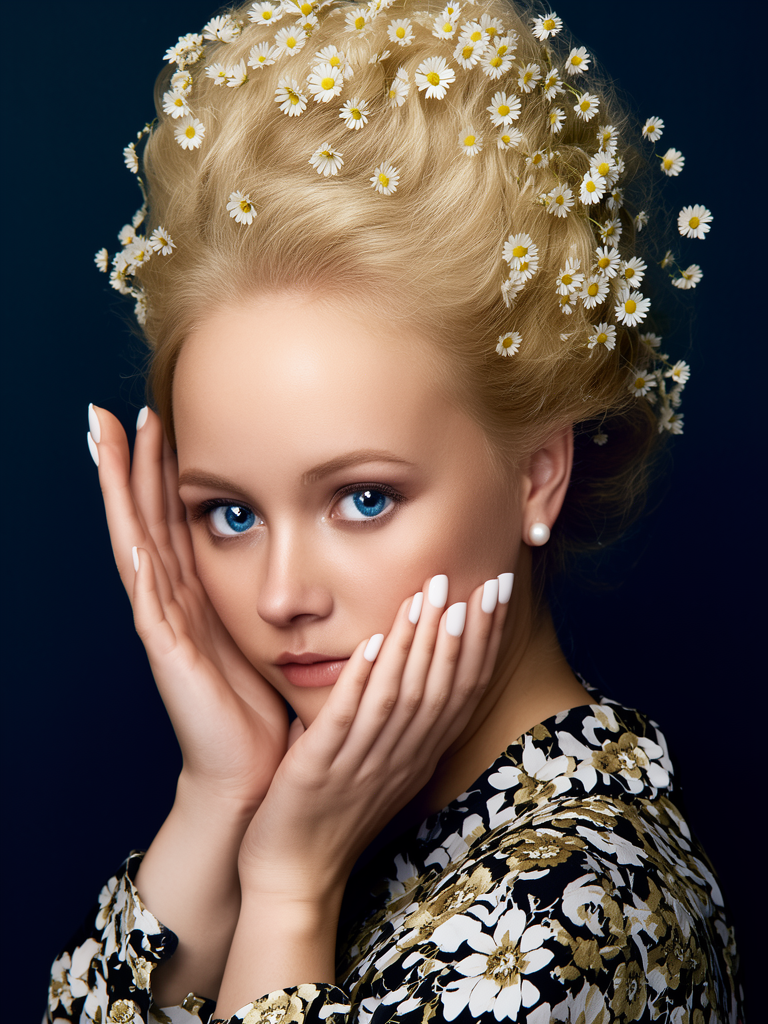
Example with a single prompt:
A close-up portrait by mikkoph of a very young woman with fair skin and striking blue eyes, looking directly at the camera with a soft, serene expression. Her blonde hair is styled in an elegant updo, adorned with numerous small white flowers, possibly daisies, nestled throughout the curls. She wears a floral-patterned blouse with black, white, and gold flowers, a pearl earring in her right ear, and has a manicure with white nail polish. Her hands are gently cupped around her face, with her fingers lightly touching her cheeks. The background is a deep, dark blue, creating a dramatic contrast that highlights her features and the delicate details of her look. --w 1024 --h 1024 --d 42 --s 40Each line is a separate prompt that will be sampled during training. Adding as many as you need, but keep in mind that this will make the training session longer.
Training Configuration
The following explains the most relevant parameters from the training.toml file in your project directory:
network_dim: Dimension of the LoRA (8-16 is usually suitable for simple styles, 32-64 for more complex concepts or characters)learning_rate: 1e-4 is a good starting point (adjust if the loss doesn’t decrease)max_train_epochs: How many training cycles (10-50, depending on dataset size)save_every_n_epochs: How often to save checkpointssave_state: Saves the training state with each checkpoint. This allows stopping and resuming training. It consumes more disk space and VRAM
Important: All the settings mentioned above are starting defaults. There is no one-size-fits-all configuration. You will need to experiment with these values to find what works best for your specific dataset and goals. The values provided are based on my experience, but your results may vary significantly.
Running Training
# Cache latents and prompts. This speeds up training considerably
./musubi.sh cache

# Run the training
./musubi.sh train
Note: You are likely to see many warnings when running this command. They are harmless and can be ignored.
Resuming Training
If you have stopped the training or feel that the LoRA is undertrained even after finishing, you can resume training if you set save_state to true (which is the default) in training.toml. To resume, only run:
./musubi.sh trainThis will automatically find the latest saved state and restart training from there.
Monitoring Training
During training, you’ll see:
- Loss values - Should decrease over time. If it stays flat or increases, your learning rate may be too high. However, do not rely too much on this value.
- Sample images - Generated every 2 epochs (or whatever you set) showing how the LoRA is learning
- Checkpoint files - Saved to the
outputdirectory of the project every 2 epochs (or whatever you set)
What to Look For
| Epoch | What to Check |
|---|---|
| 1-5 | Loss should start decreasing |
| 5-10 | Sample images should show the style emerging |
| 10-20 | Check for overfitting (samples look too much like training images) |
| 20+ | If loss is still decreasing, consider more epochs |
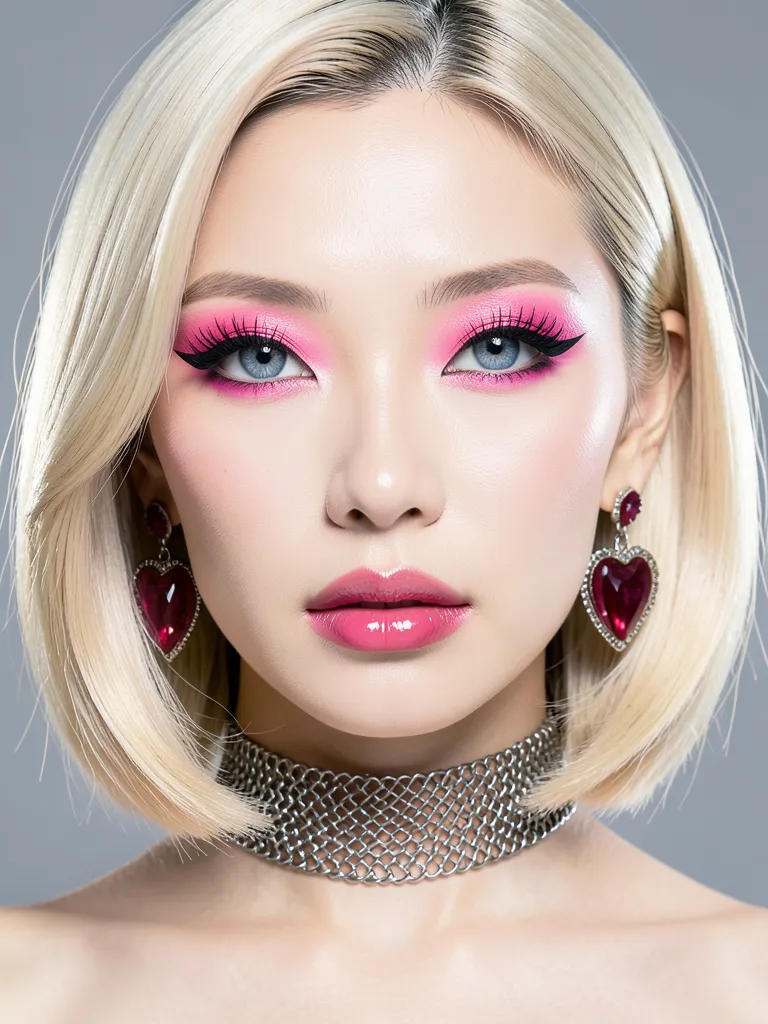
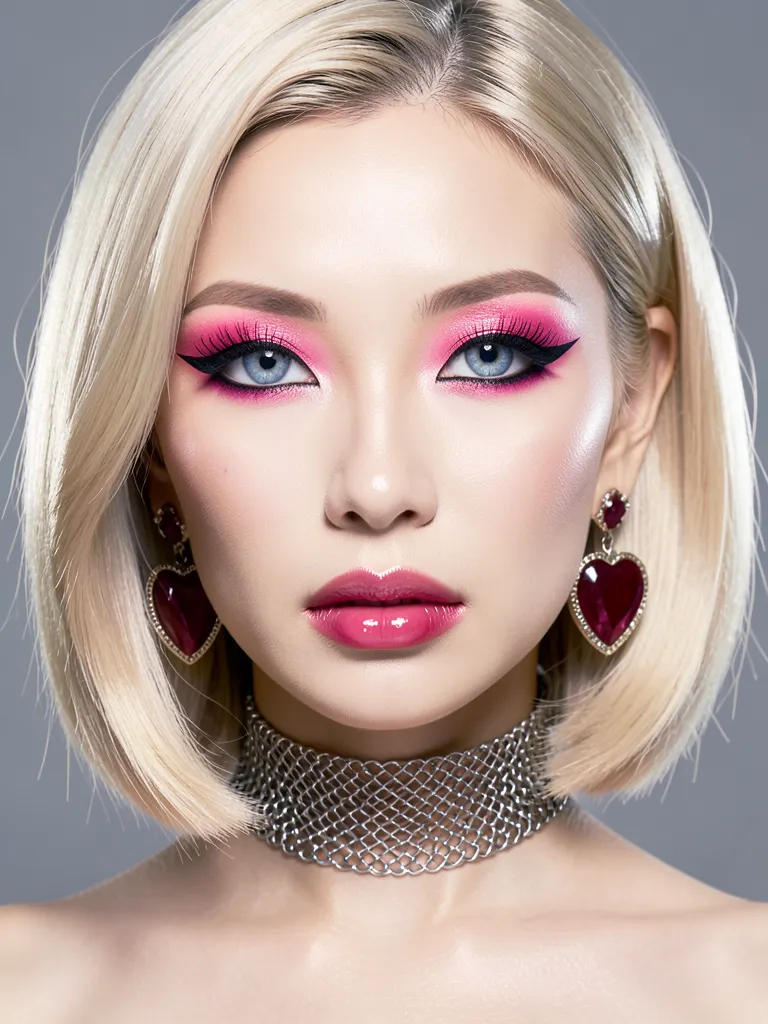
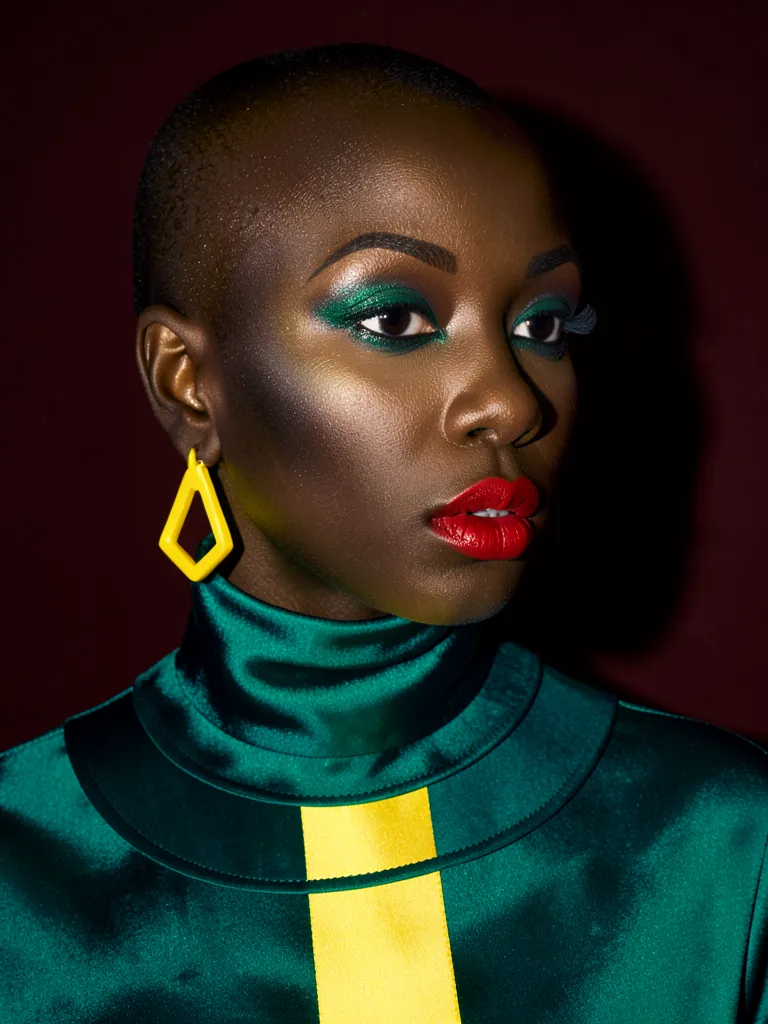
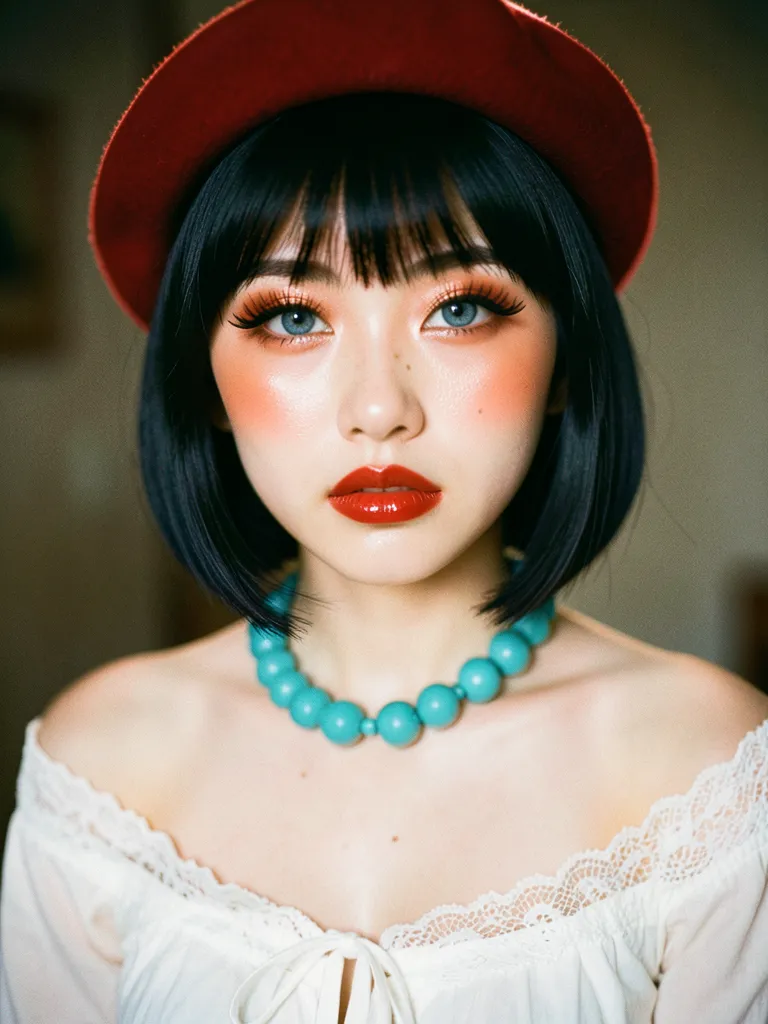
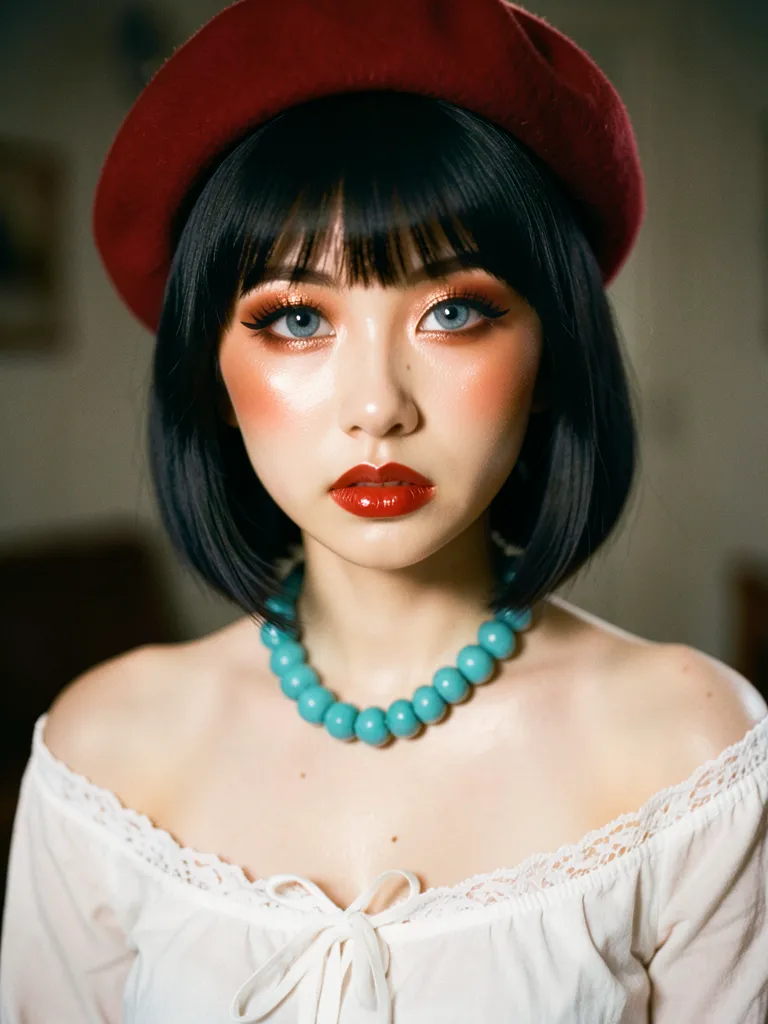
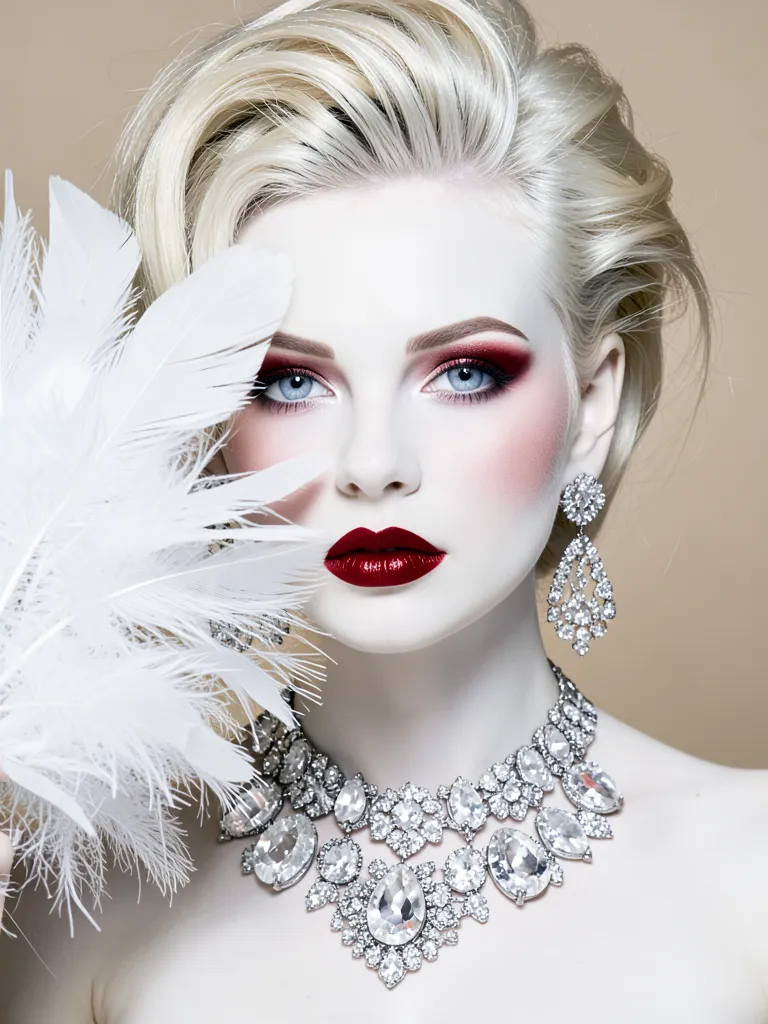
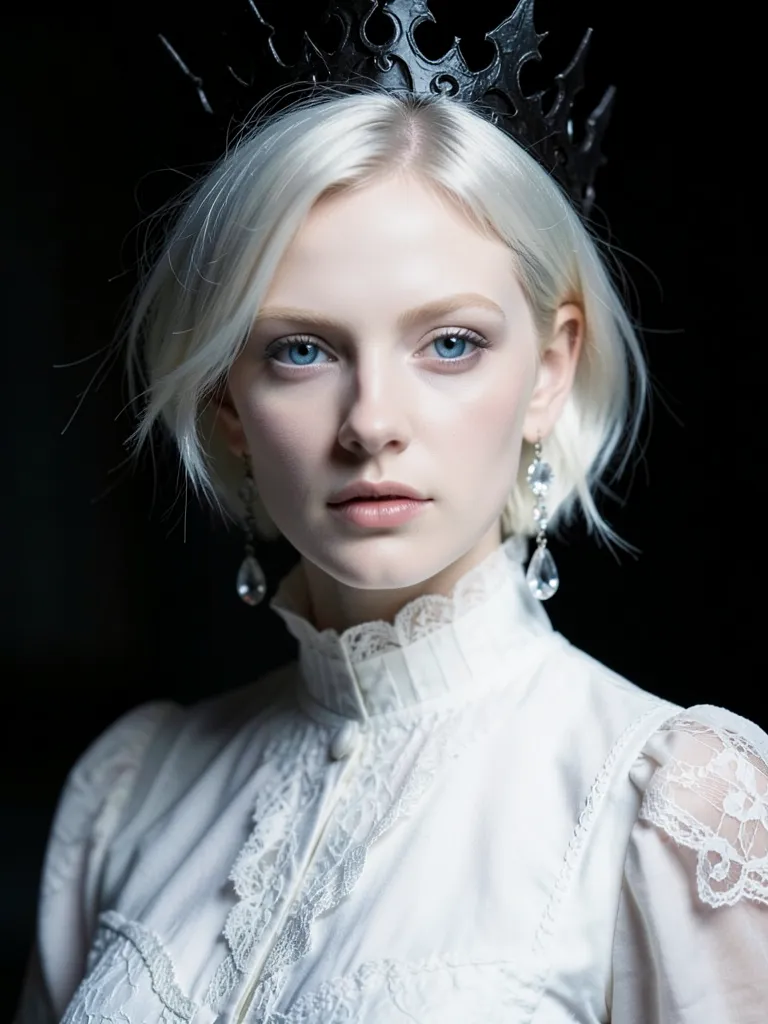
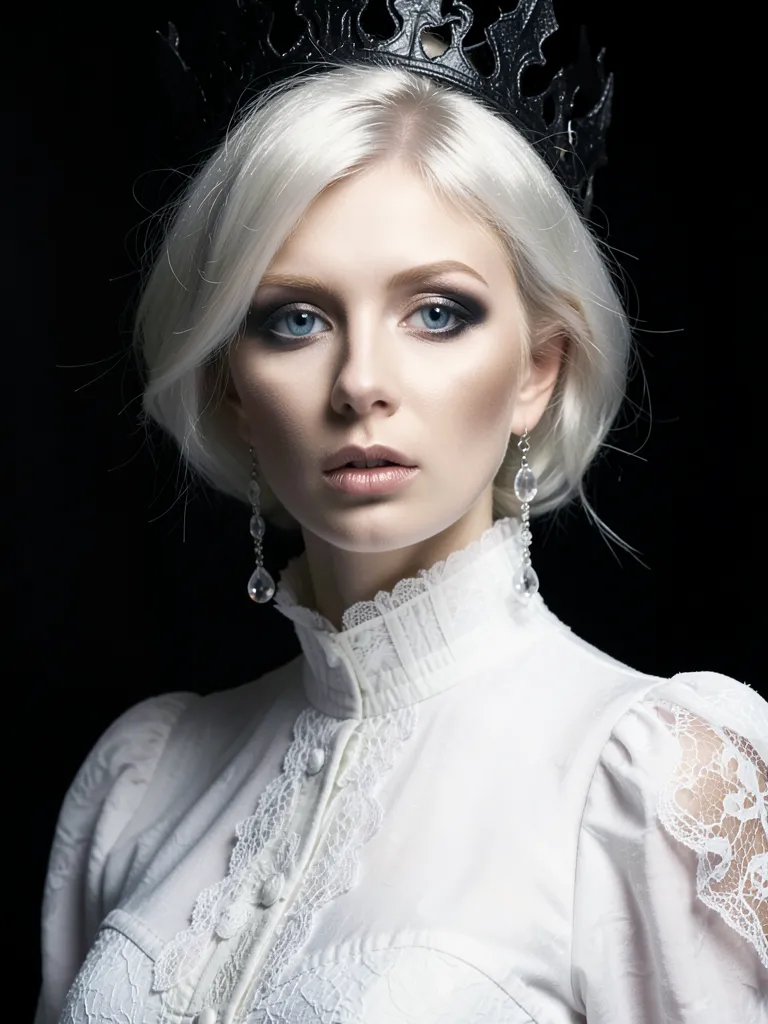
Here are some examples from my training:
| Epoch 0 | Epoch 6 | Epoch 12 | Epoch 20 | Epoch 30 |
|---|---|---|---|---|
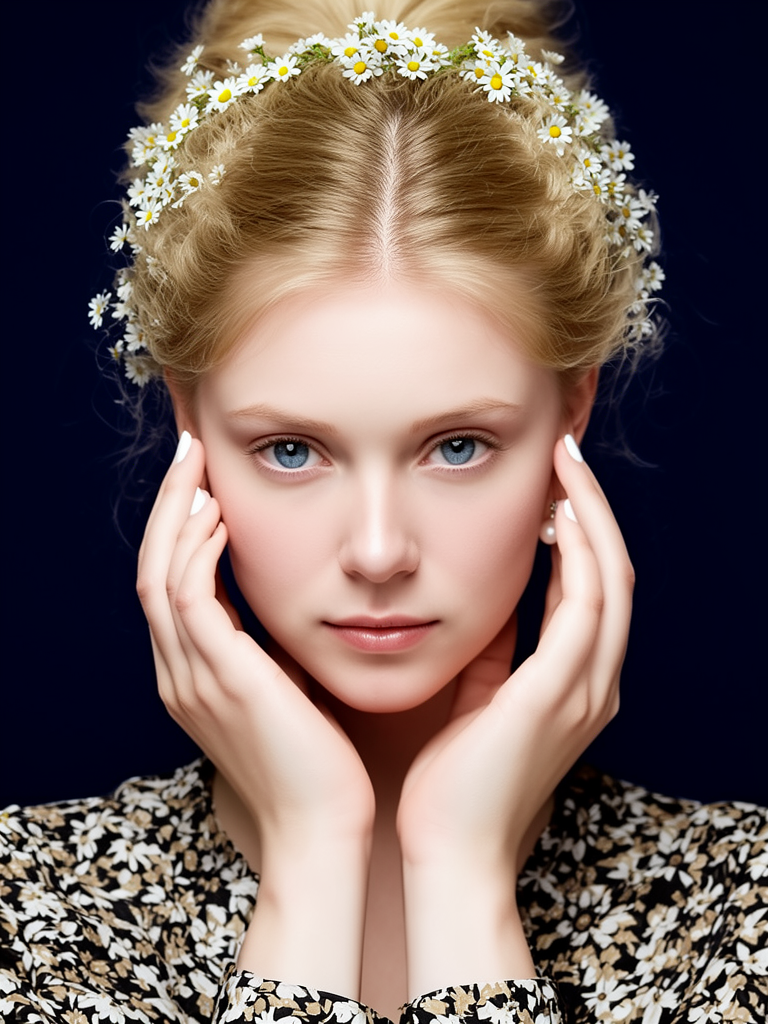 | 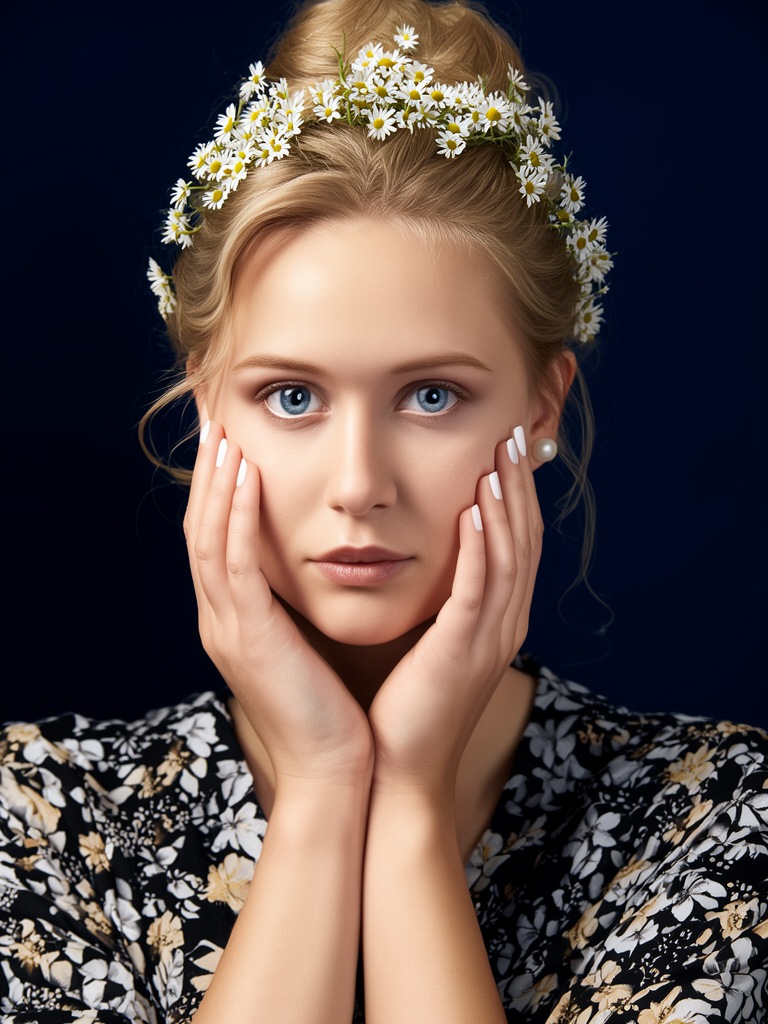 | 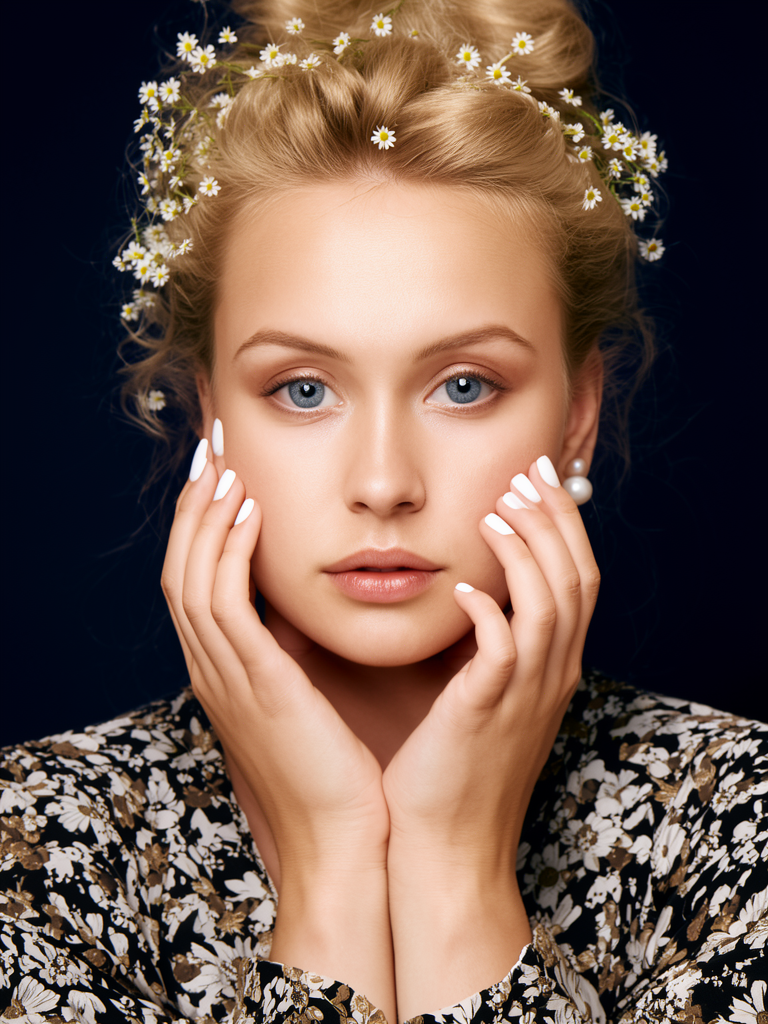 | 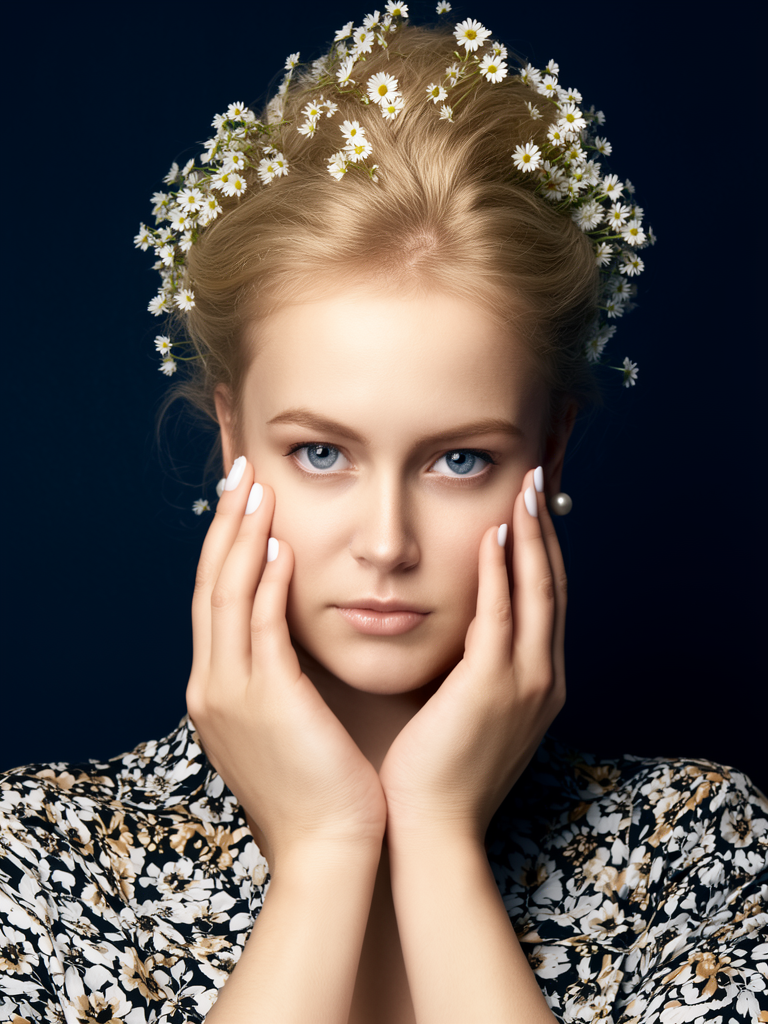 |  |
| Start | Early learning | Mid-training | Best checkpoint | Overtrained |
The last checkpoint is clearly overtrained and quality degraded significantly. I used checkpoint 20 instead.
However, I still tested all most promising checkpoints with the distilled model using ComfyUI. That’s the only way to be sure.
Using Your Trained LoRA
After training completes, you’ll have checkpoint files in the output directory of your project:
output/
├── my-lora-000002.safetensors    # Epoch 2 checkpoint
├── my-lora-000004.safetensors    # Epoch 4 checkpoint
├── my-lora-000006.safetensors    # Epoch 6 checkpoint
└── ...
The final checkpoint won’t have a sequence number.
In ComfyUI
- Place the
.safetensorsfile in your ComfyUImodels/loras/directory - Add a
Load LoRAnode to your workflow - Connect it to your Flux model nodes
- Adjust the LoRA strength. Start with 1.0, but don’t be afraid to push it significantly higher or lower.
In other tools
Most tools that support Stable Diffusion LoRAs will work with Flux LoRAs. Look for a “Load LoRA” or similar node/module.
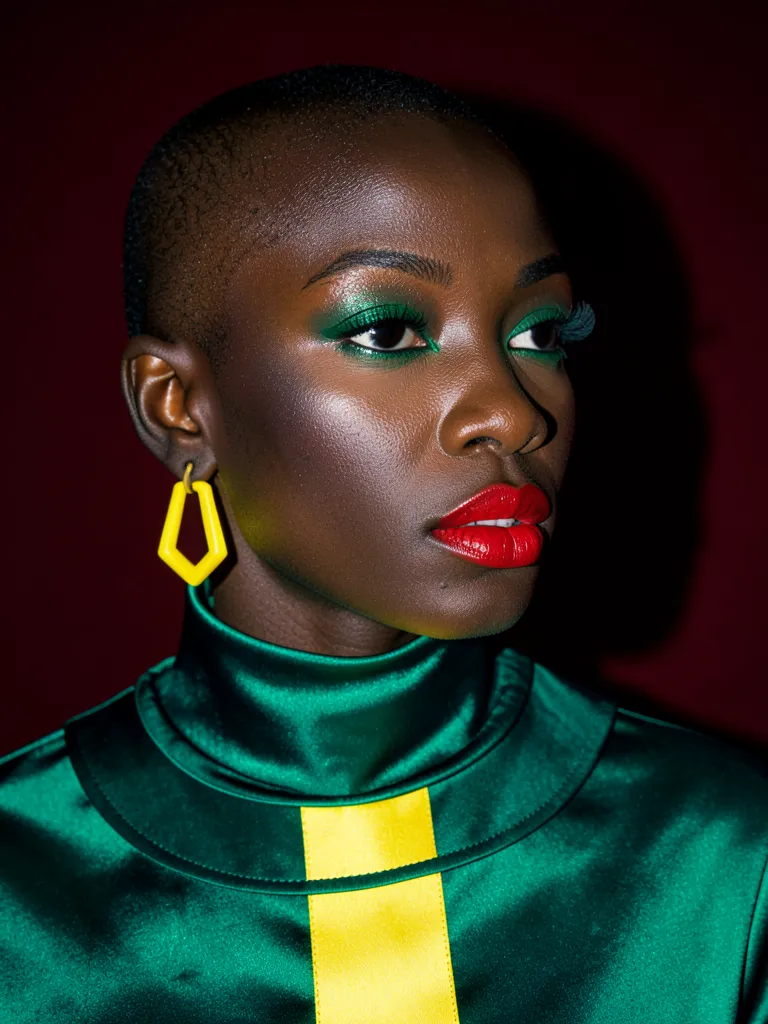
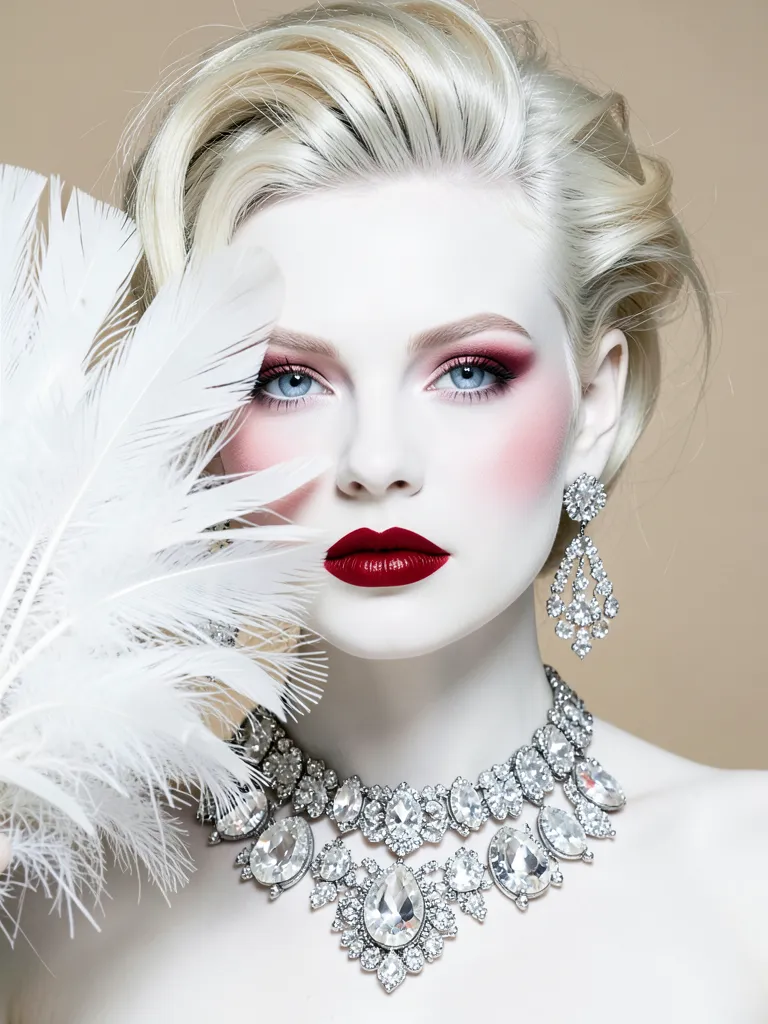
Results
Here are some example images generated using my LoRA. They are generated with the same prompt and seed using Klein 4B.
Merging Checkpoints with EMA
The musubi.sh script includes an ema command that performs Exponential Moving Average (EMA) merging of LoRA checkpoints. This post-training technique combines multiple checkpoints into a single, often improved checkpoint.
EMA works by applying a weighted average to checkpoint parameters, where a beta value (default: 0.95) controls the weighting between earlier and later checkpoints. This can be useful when:
- You have multiple promising checkpoints but are unsure which is optimal
- Training showed consistent improvement across epochs
- You want to avoid testing each checkpoint individually
Usage:
./musubi.sh ema output/my-lora-000016.safetensors output/my-lora-000018.safetensors output/my-lora-000020.safetensors --output_file my-lora-ema.safetensorsYou can also adjust the beta parameter (e.g., --beta 0.97) to give more or less weight to earlier checkpoints. Note that EMA works best when checkpoints are from similar training phases and show consistent improvement.
Troubleshooting
Out of VRAM
If you get “out of memory” errors:
- Reduce
batch_sizeindataset.toml - Try
optimizer_type = "adamw8bit"intraining.toml - Reduce
resolution(try 768x768) - Reduce
max_data_loader_n_workers(try 1)
Samples Look Bad
- Train for more epochs (style may need time to emerge)
- Check your dataset quality (images should be clear, captions should be good)
- Try a different
network_dim(higher for complex styles)
Conclusion
You now have a complete workflow for setting up and training custom LoRAs with musubi-tuner on AMD GPUs. Start with a small dataset (50-100 images) and experiment with different settings to find what works best for your use case.
For more information, check out:
- Musubi-Tuner GitHub
- LoRA Theory and Practice
- My HuggingFace
- Training Z-Image LoRAs - For a similar guide on Z-Image training
Happy training!